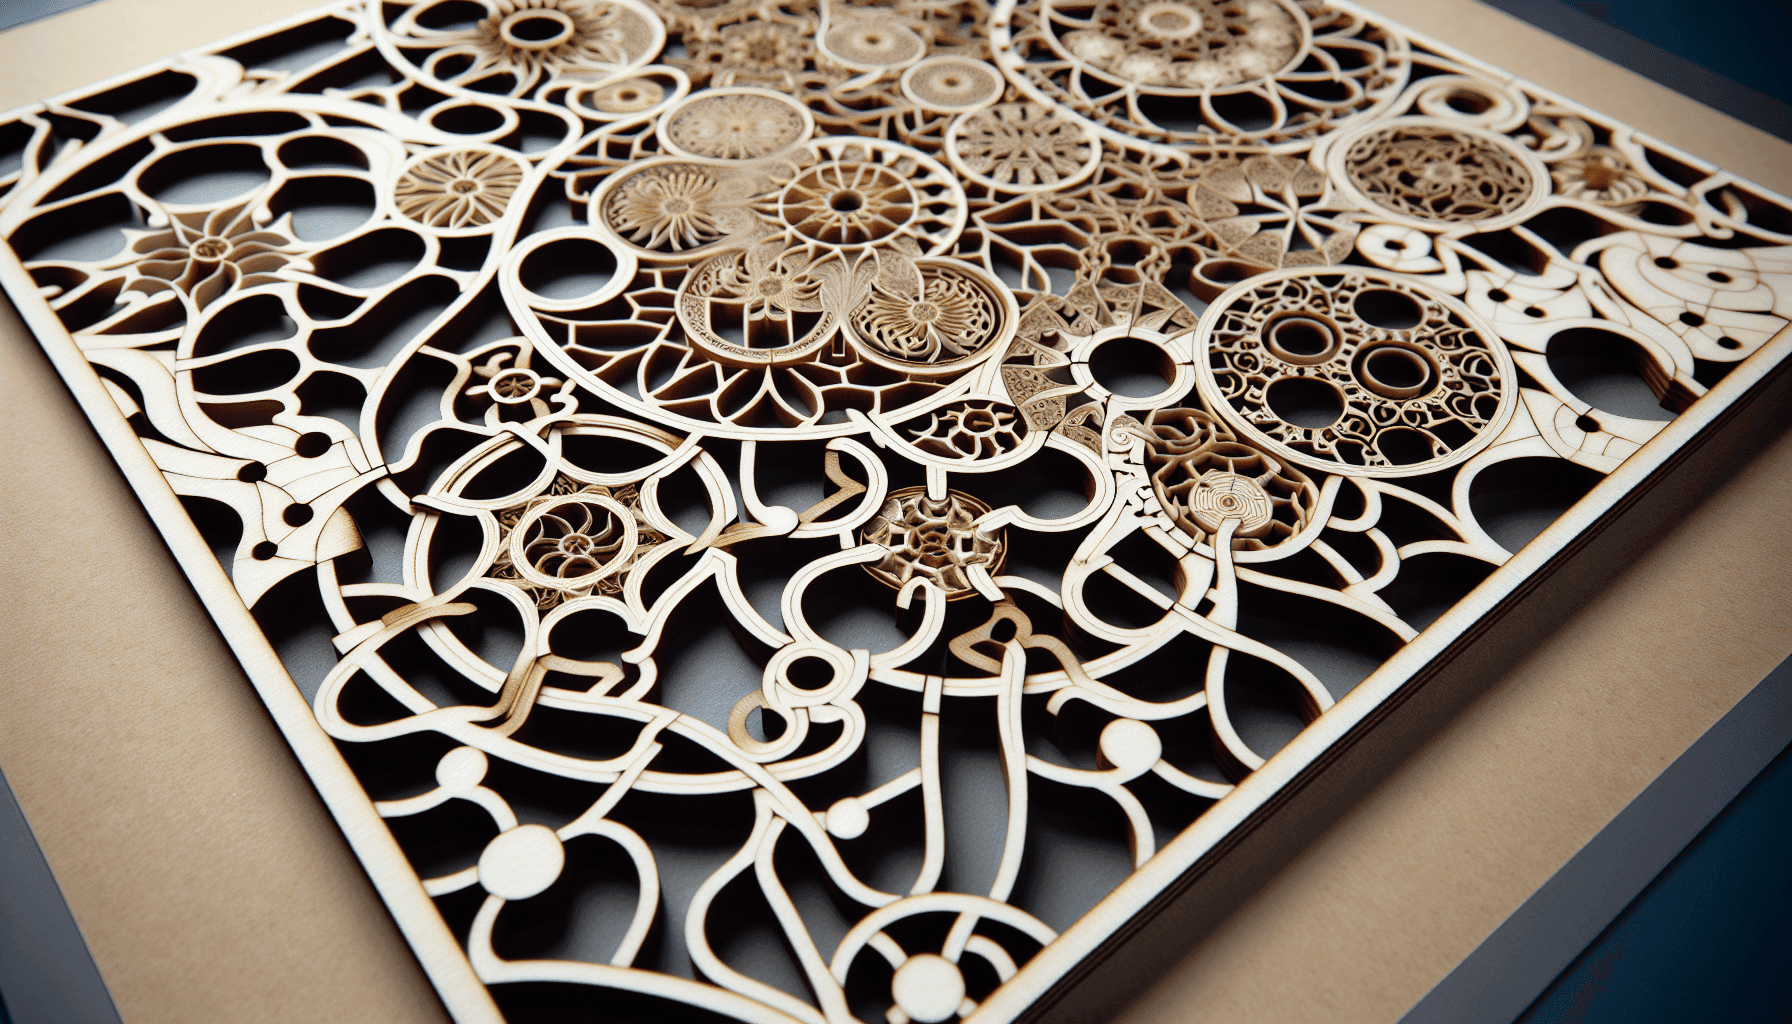
Have you ever found yourself staring down at a newly opened, intricately designed laser-cut wooden puzzle wondering what’s the best way to start a laser-cut wooden puzzle? These 3D puzzles, with pieces crafted from wood by precision lasers, offer a unique and challenging experience different from the typical cardboard jigsaw puzzle. They can be as simple as straightforward designs or as complicated as multi-layered models like those from brands such as Robotime, Rokr, Ugears, and others.
Completing one isn’t just about fitting pieces together; it’s about enjoying a journey of exploration and discovery. Let’s walk through some strategies and tips to help you start and eventually master your next laser-cut wooden puzzle with confidence and fun.
Understanding Laser-Cut Wooden Puzzles
Before jumping into assembly, it’s vital to have a clear understanding of what makes laser-cut wooden puzzles distinct from other types of puzzles. Typically manufactured using high-quality plywood or other wood materials, these puzzles are cut with precision lasers. This technology provides exceptionally accurate cuts, leading to highly intricate and detailed pieces that often come together to form a mechanical mini frame or a replicable object.
Laser-cut puzzles are usually 3D, offering an elevated level of complexity compared to traditional flat puzzles. These puzzle sets often include moving parts and require a more comprehensive assembly approach, providing both a physical and mental challenge.
Different Brands and Their Unique Styles
Each brand like Rokr, Wooden City, or Ugears often has its own unique style and complexity level. For instance, Ugears frequently incorporate moving elements powered by rubber bands or springs, while Robotime models can include decorative and functional aspects.
| Brand | Distinct Features |
|---|---|
| Ugears | Often includes moving parts with mechanisms relying on elastic bands or winding systems. |
| Robotime | Known for aesthetic appeal with decorative functional designs. |
| Rokr | Offers a wide range of complexity, from simple to intricate designs such as trains or music boxes. |
| Wood Trick | Focuses on educational and variety in design, often encouraging STEM learning. |
Essential Tools and Preparations
Having the right tools handy can make the assembly of laser-cut wooden puzzles significantly easier. Preparation not only sets the tone for a smooth experience but also helps prevent any mishaps or damage to the pieces.
- Work Surface: Use a large, flat, and stable surface. A table with enough space to comfortably spread out all the pieces, manual, and tools is ideal.
- Light and Magnification: Ensure good lighting. A magnifying glass might be helpful for reading tiny numbers and fitting intricate pieces together.
- Separation and Organization: A small container or tray system can help separate and access all the pieces easily. Some enthusiasts use muffin tins for piece segregation.
- Tools: A small file or sandpaper is useful for smoothing out pieces as needed, while a non-lethal adhesive, like wood glue, can provide extra security for completed models, although it should be used sparingly.
Starting the Puzzle
Once you’re prepared, it’s time to start fitting those first pieces together. Starting right not only leads to a smoother experience but also builds momentum.
Reading the Instructions
Take time to carefully review the instruction manual before touching the pieces. A thorough understanding of each step and how each component fits into the broader picture will help avoid errors and frustration. Most manuals are visual, using diagrams to guide assembly.
- Pay Attention to Order: Puzzles often have a specific order in which pieces need to be assembled. Skipping ahead might leave some steps impossible to complete later.
- Check for Numbered Pieces: Some pieces might be numbered; follow the sequence as it’s laid out to save time.
Begin with the Base or Large Parts
Start with the stable parts of the puzzle, usually the base or the larger pieces. Establishing a solid foundation helps support the smaller, more complex structures as you progress. Building from the bottom up typically aligns with the natural design intent of many 3D puzzles.
Connect Pieces Gently
Aligning and connecting pieces often requires care to prevent breakage. Be gentle yet firm, ensuring each piece fits snugly in its designed slot. It’s easy to overestimate the strength of wooden pieces, particularly around narrow joints or intricate details.

Continuing Step-by-Step Assembly
As you proceed through the puzzle, the focus shifts towards maintaining concentration and following the guides precisely.
Maintain Focus and Patience
The complexity of laser-cut wooden puzzles can test anyone’s patience. They often require precision and a steady hand to fit intricate elements together correctly. Approaching the process with patience can turn a potentially frustrating experience into a rewarding endeavor.
Refer Back to the Guide
Even if you feel confident, regularly checking the instruction manual can prevent mistakes which might require you to disassemble areas. If you find yourself stuck, taking a step back to rethink your approach or referring to online forums and resources can be highly beneficial.
Troubleshoot Common Issues
It’s common to encounter some roadblocks while working on these intricate models. Here’s how to tackle potential problems without losing enthusiasm.
Misplaced or Missing Pieces
If a piece doesn’t seem to fit as expected, chances are high there’s been a slight oversight. Re-check the instructions to ensure correct placement. In case a piece is missing, some companies offer replacement services; keeping their contact details handy can be useful.
Snapping or Breaking Pieces
If a piece accidentally snaps or breaks, wood glue acts as a lifesaver. Apply a tiny amount to mend the piece, allowing it to dry completely before attempting to fix it back into the model.
Tight Fits
Sometimes pieces are too snug, making it difficult to fit them precisely. Using sandpaper to smooth edges or filing down thicker segments can help the pieces slide into place more easily.

Completing and Enjoying Your Puzzle
As you near completion, the sense of accomplishment and satisfaction starts to unfold. It’s about celebrating your patience, determination, and skill in managing the intricacies of these puzzles.
Admire Your Masterpiece
Once your puzzle is complete, take some time to admire your work. Whether it’s displayed on a shelf or forms part of a larger collection, each completed model represents a unique journey.
Consider Further Customization
For many, the appeal of these puzzles doesn’t end with assembly. Painting or adding small custom elements can inject a personal touch, creating a piece that’s uniquely yours.
Conclusion: The Joy of 3D Wooden Puzzles
Tackling laser-cut wooden puzzles is more than just about solving a challenge; it’s about the joy of creation and the pleasure from a task well done. From the tactile satisfaction of placing each piece to the immersive tranquility it brings, these puzzles are a testament to artistic engineering and personal perseverance.
Whether you’re a seasoned puzzler or just beginning, each step brings its own learning and sense of wonder. So next time you unwrap that new laser-cut wooden challenge, remember—it’s all about the journey and having fun along the way!
Ready to start your 3D wooden puzzle journey? Click on any of the following links for our reviews:
All Categories | Boats | Clocks | Marble Runs | Musical Boxes | Musical Instruments | Puzzle Boxes | Trains | Trams | Trucks