Have you ever wondered if you can paint 3D wooden puzzles? These intricate puzzles, offered by brands like Robotime, Rokr, Ugears, Wood Trick, EWA, Vitascope, Wooden City, and Handmadecity, often come with exquisite designs and complex constructions. But what if you could add a personal touch by applying some paint? Let’s delve into this possibility and explore how you can bring color to your 3D wooden puzzles.
Understanding 3D Wooden Puzzles
3D wooden puzzles are meticulously designed models that range from simple structures to highly sophisticated mechanisms. These puzzles come in a variety of themes, such as vehicles, buildings, and mechanical wonders, providing a satisfying challenge for hobbyists and enthusiasts alike. Brands like Robotime and Ugears have pioneered in this space, offering intricately designed puzzles that are not just toys but also pieces of art.
Brands in 3D Wooden Puzzles
When discussing painting these puzzles, it’s vital to know the major brands that produce them:
| Brand | Specialty | Popular Models |
|---|---|---|
| Robotime | DIY miniature houses and mechanical models | Marble Explorer, Rattlesnake |
| Rokr | Mechanical and clockwork puzzles | Pendulum Clock, Ferris Wheel |
| Ugears | Self-propelled mechanical models | Tram Line, Safe Box |
| Wood Trick | Detailed, themed mechanical models | Hot Air Ballon, Mechanical Box |
| EWA | Elastic-powered locomotives and structures | Carousel, Chopper |
| Vitascope | Wooden model film projectors | Vitascope projectors |
| Wooden City | Elegant and functional wooden kinetic models | Timer, Hurdy-Gurdy |
| Handmadecity | Diverse set of DIY kits | Owl Clock, Wooden Globe |
Can You Paint 3D Wooden Puzzles?
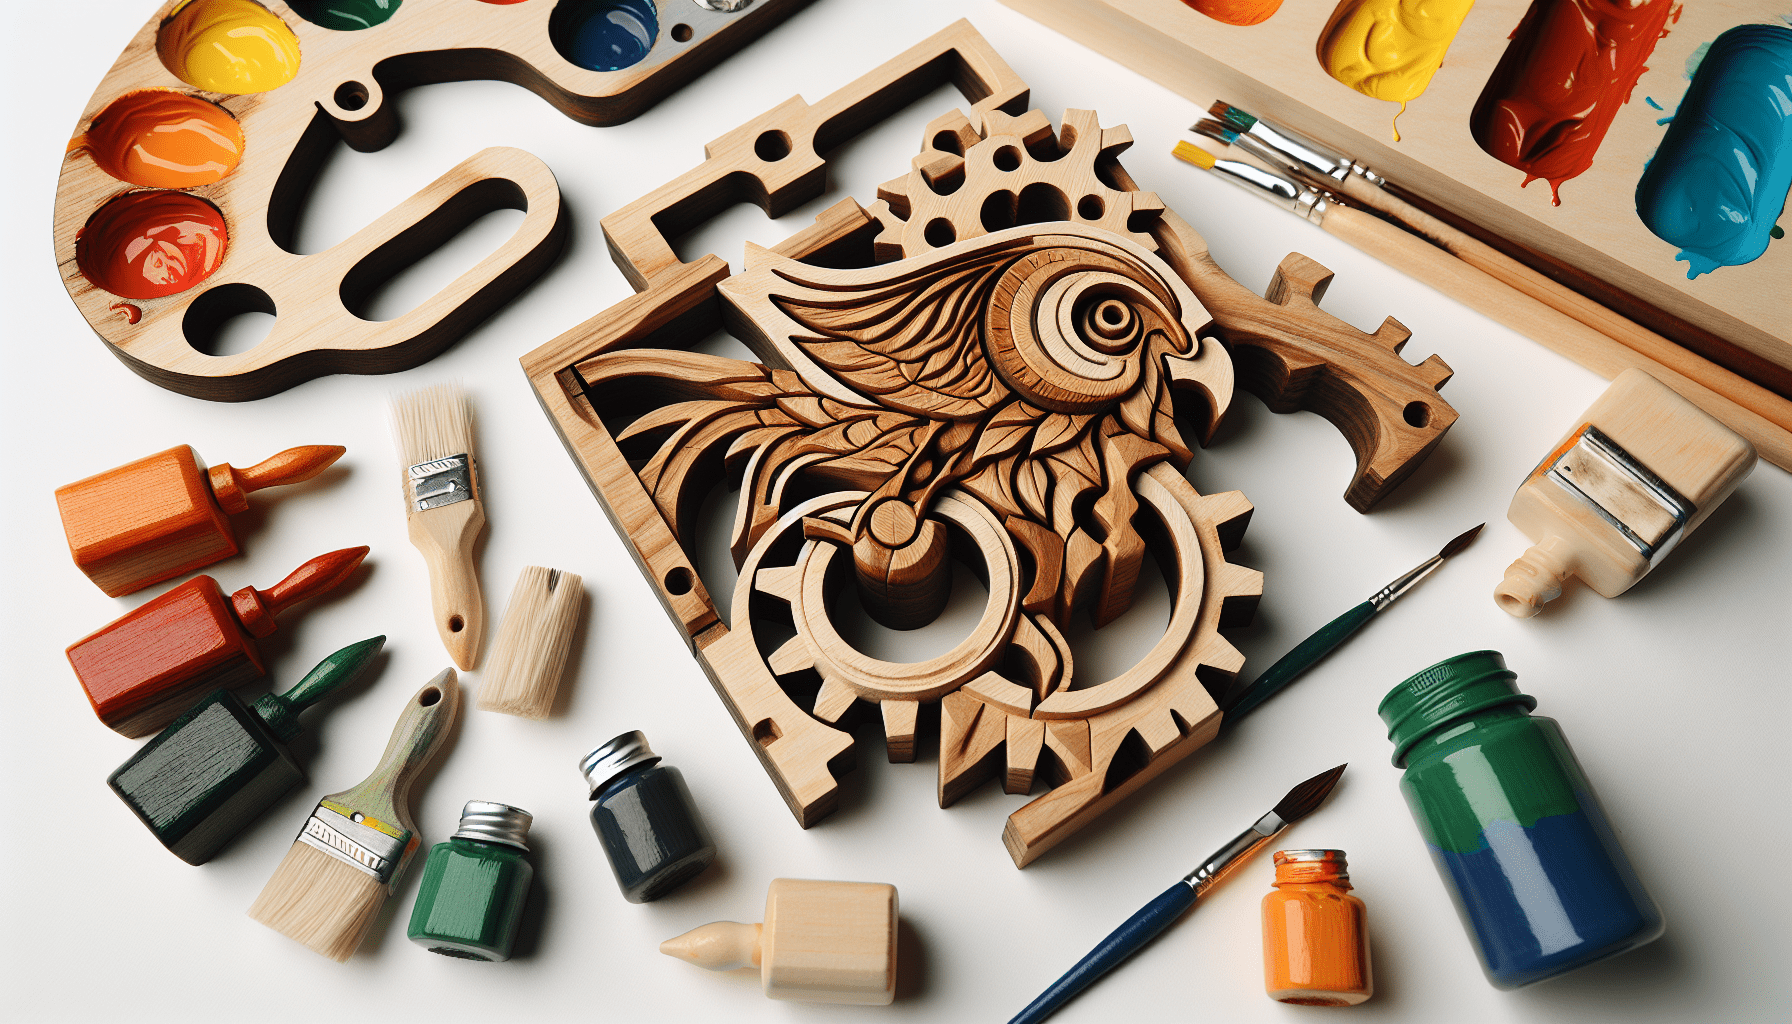
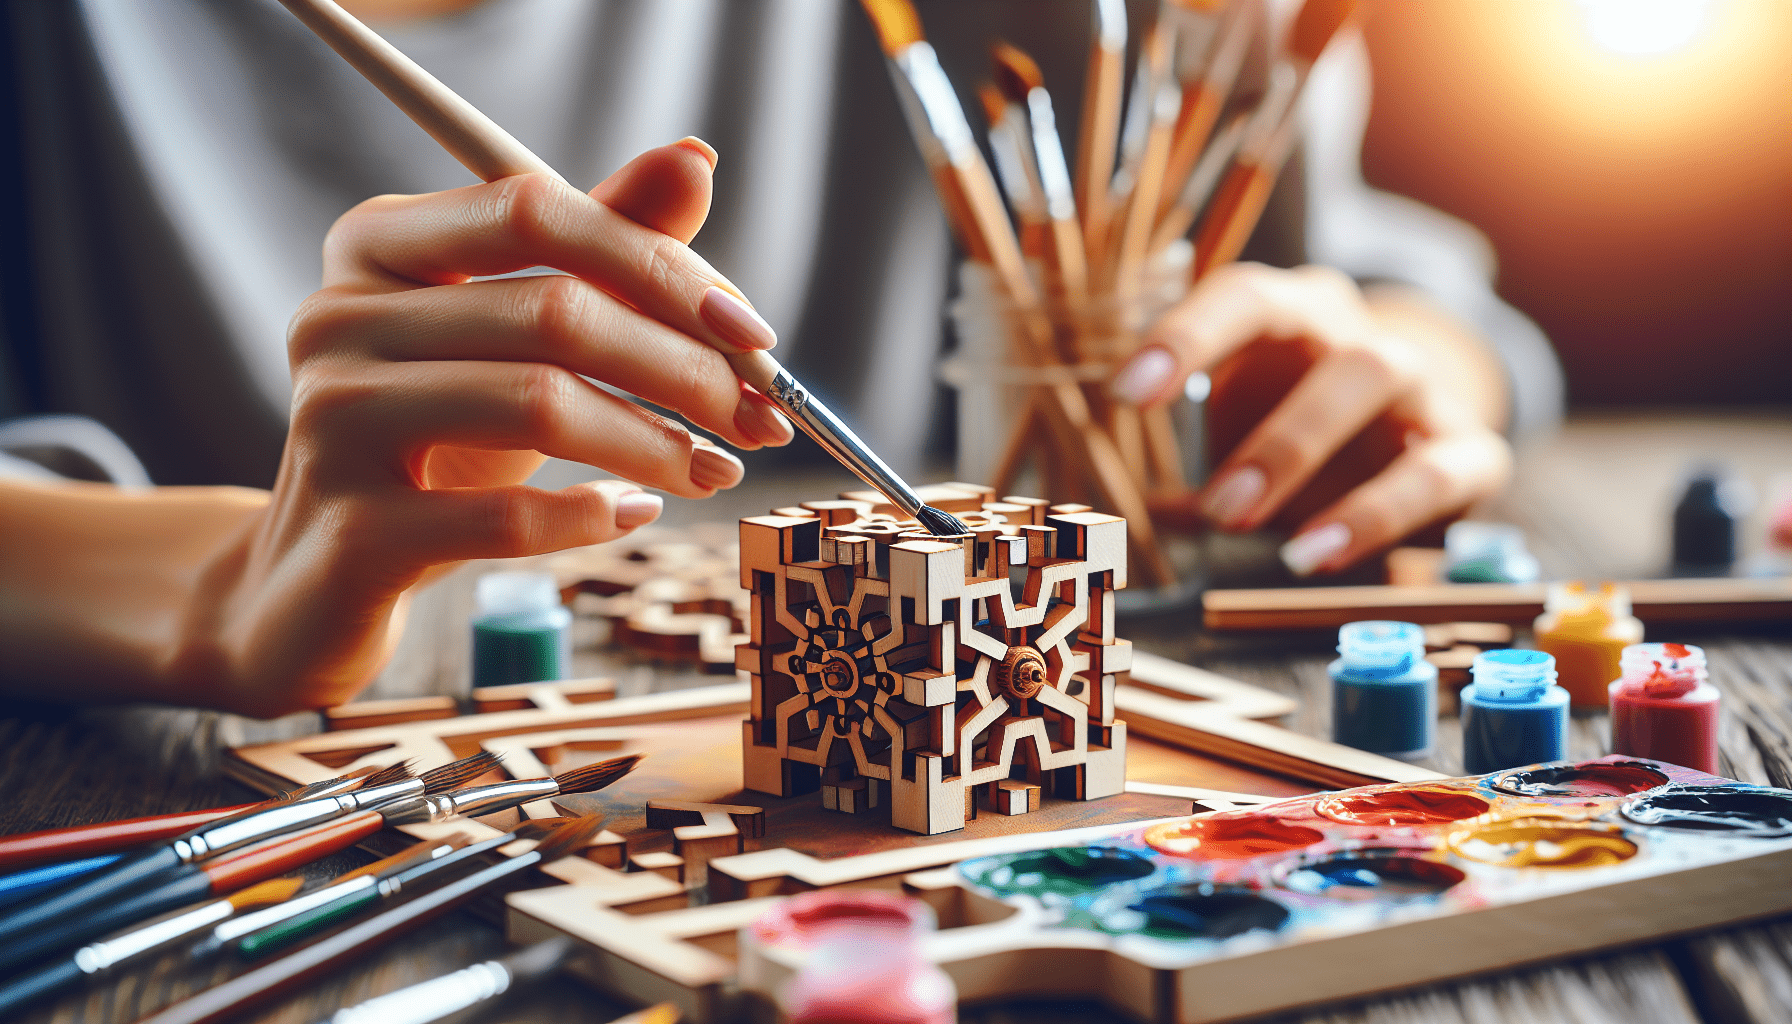
Yes, you can paint 3D wooden puzzles! Adding paint can elevate the aesthetic appeal and highlight intricate details. However, painting these puzzles is not just about choosing colors and brushes; it involves a precise technique to ensure you do not compromise the puzzle’s functionality or assembly.
Benefits of Painting
Painting your 3D wooden puzzle can transform it from a simple model into a vivid masterpiece. Benefits include:
- Personalization: Reflect your style and creativity.
- Enhanced Details: Accentuate the intricate parts of the model.
- Preservation: Protect the wood from environmental damage over time.
- Satisfaction: Increased sense of accomplishment when the puzzle is completed and painted.
Preparing Your Puzzle for Painting
Before diving into paints and brushes, preparation is key. Proper preparation ensures that your final painted puzzle does not just look great but is also durable and functional.
Disassembling the Puzzle
While most models come pre-assembled in their initial frame, it’s best to remove the individual pieces for painting. This allows you to reach all areas and avoid painting over joints which could affect assembly later.
Sanding
Ensure a smooth surface by lightly sanding each piece with a fine-grit sandpaper. This step helps the paint to adhere better to the wood and removes any splinters or rough spots.
Cleaning
After sanding, use a clean cloth to wipe away dust and residues. Pro tip: A slightly damp cloth works wonders because it picks up fine dust particles without making the wood too wet. Allow the pieces to completely dry before painting.
Choosing the Right Paints
Not all paints are created equal. Selecting appropriate colors and types of paint will not only affect the visual appeal but also the durability of your 3D wooden puzzle.
Types of Paints Suitable
- Acrylic Paints: Highly preferred for their quick-drying properties, making them great for layering colors.
- Watercolors: Offer a delicate touch, but sealing is necessary to preserve the paint.
- Stains: Penetrate the wood surface, giving it a rich color while showcasing the wood grain.
- Spray Paints: Good for an even coat, suitable for larger pieces, but can be tricky in terms of control and precision.
| Paint Type | Characteristics | Best Use Case |
|---|---|---|
| Acrylic Paints | Fast-drying, versatile, water-based | Detailed work and layering |
| Watercolors | Delicate, translucent, requires sealing | Light washes and soft designs |
| Stains | Deep color, enhances wood grain | Natural, rustic look |
| Spray Paints | Even coverage, fast, broad application | Large surface areas |
Selecting Colors
Consider the color scheme that complements the puzzle’s theme. For example, steampunk models like those from Ugears or Rokr could look amazing in metallic hues like bronze or gold. Vivid colors may be more suitable for whimsical themes, while subdued tones could enhance the classic elements.

Painting Techniques
Now that your puzzle is prepared and you’ve chosen your paints, it’s time to discuss some effective painting techniques. The approach can significantly influence the final appearance of your puzzle.
Base Coat
Start with a base coat to create a uniform surface for the colors that will follow. This step is essential if the wood has varying shades that could affect the final color.
- Apply a Primer: Acrylic gesso is a good choice.
- Let it Dry: Ensure the primer is completely dry before applying more paint.
Adding Layers
Building up layers gradually can help achieve depth and richness in color.
- Thin Layers: Apply paint in thin, even layers to avoid streaks or clumping.
- Dry Between Layers: Let each layer dry thoroughly before adding the next.
Fine Details
For intricate details, use fine-tipped brushes. This precision helps highlight specific parts of the model without risking paint spills or smudges on other areas.
Sealing
Finish by sealing your painted puzzle to protect it from scratches, moisture, and other potential damage. Several options are available:
- Clear Acrylic Sealer: Provides a glossy or matte finish and is easy to apply.
- Wax: Offers a warm sheen but may require reapplication over time.
Common Pitfalls and Troubleshooting
Even with careful preparation and execution, you may encounter some hiccups along the way. Knowing how to troubleshoot these can save your project and keep it on track.
Common Issues
- Paint Bleeding: When paint seeps into areas it shouldn’t.
- Fix: Use painter’s tape for straight edges and apply thin layers of paint.
- Rough Texture: A gritty or uneven finish.
- Fix: Sand lightly between layers and ensure the surface is dust-free before painting.
- Assembly Issues: Painted pieces not fitting together properly.
- Fix: Avoid over-painting joints. Sand excess paint if necessary.
Pro Tips
- Test Paints: Always test your paints on a spare piece of wood or an inconspicuous area.
- Patience is Key: Rushing can lead to mistakes. Take your time to get a perfect finish.
- Good Ventilation: Paint in a well-ventilated area to avoid inhaling fumes.
Maintenance and Care
Once your masterpiece is complete, taking care of it ensures its longevity.
Regular Cleaning
Dust your puzzle regularly with a soft, dry cloth. Avoid using water or cleaning solutions, as they could damage the paint or wood.
Handling with Care
Handle with clean hands to avoid transferring oils and dirt onto the model. Additionally, avoid placing your puzzle in direct sunlight, as it can cause paints to fade over time.
Reapplying Sealant
Depending on the sealant type and the puzzle’s exposure, you may need to reapply the sealant to maintain its protective layer.
Conclusion
Painting a 3D wooden puzzle is not just possible but an immensely rewarding experience. By understanding your puzzle, choosing the right materials, and employing careful techniques, you can transform your wooden model into a vivid, personalized piece of art. Remember, the key lies in preparation, patience, and attention to detail. So go ahead and bring your 3D wooden puzzle to life with a splash of color!
If you have any questions or need further tips, feel free to reach out to communities and forums dedicated to 3D wooden puzzles. Happy painting!
Ready to start your 3D wooden puzzle journey?
Click on any of the following links for our reviews:
All Categories
Boats
Clocks
Marble Runs
Musical Boxes
Musical Instruments
Puzzle Boxes
Trains
Trams
Trucks

