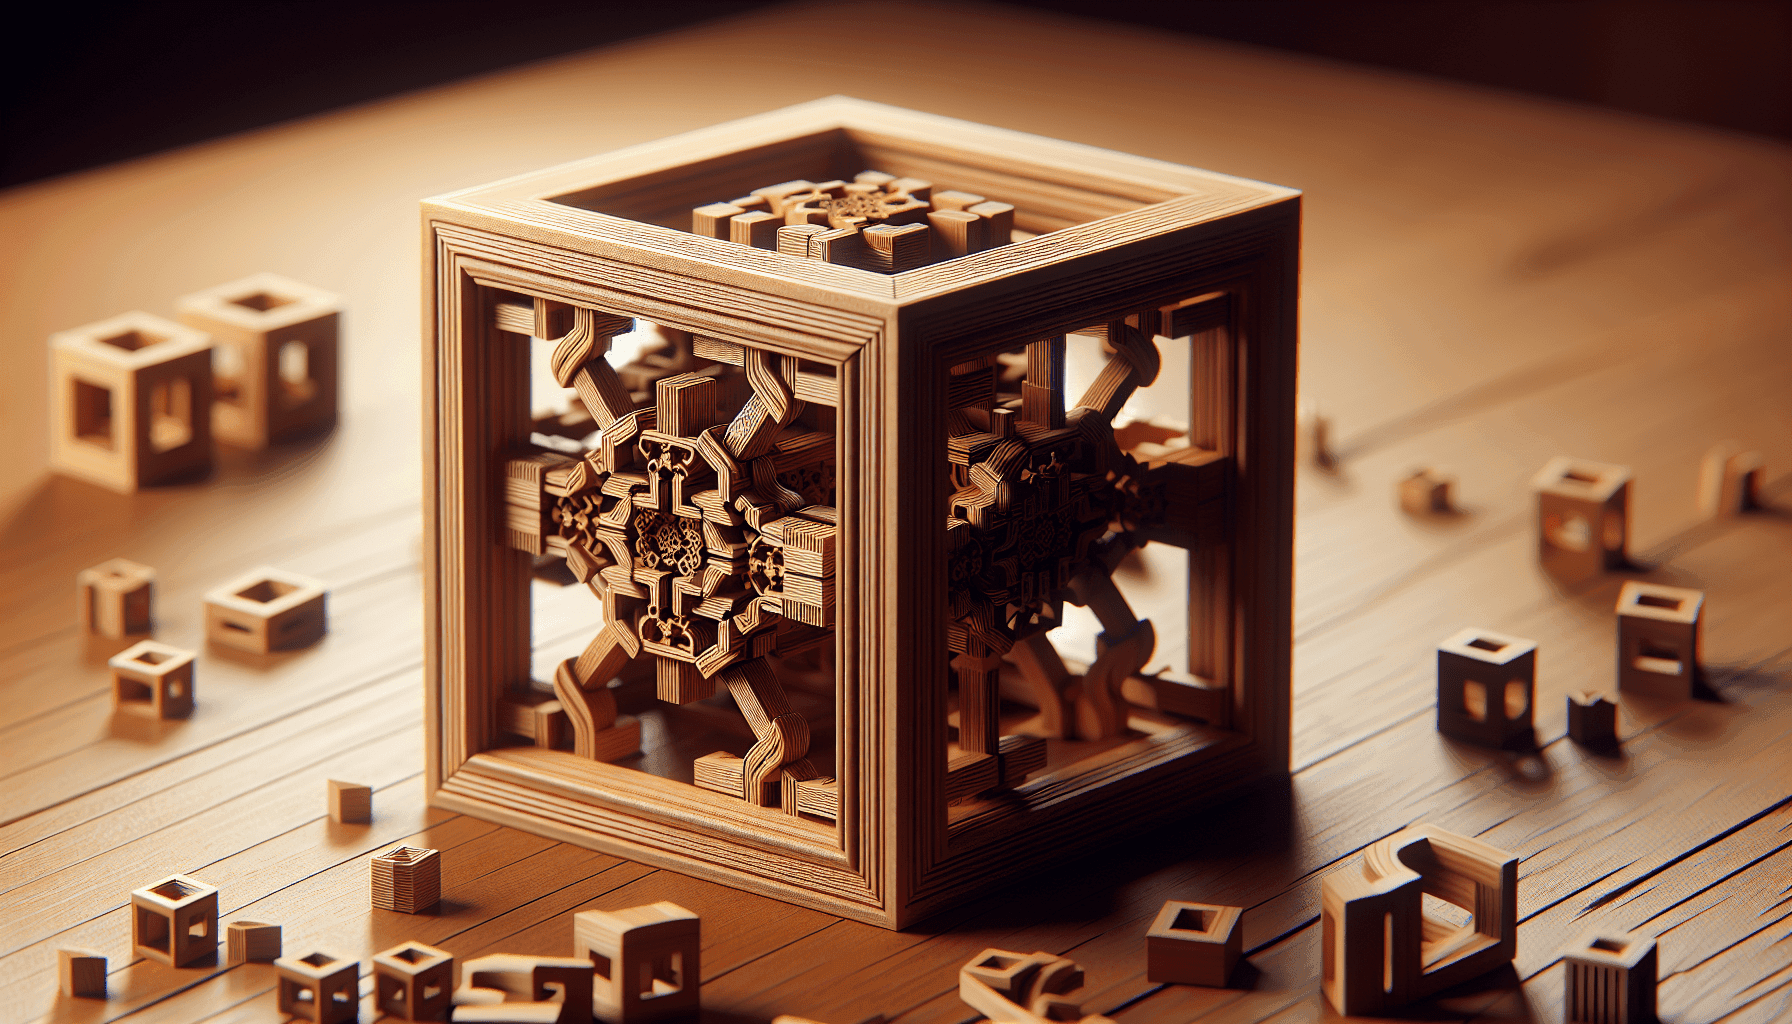
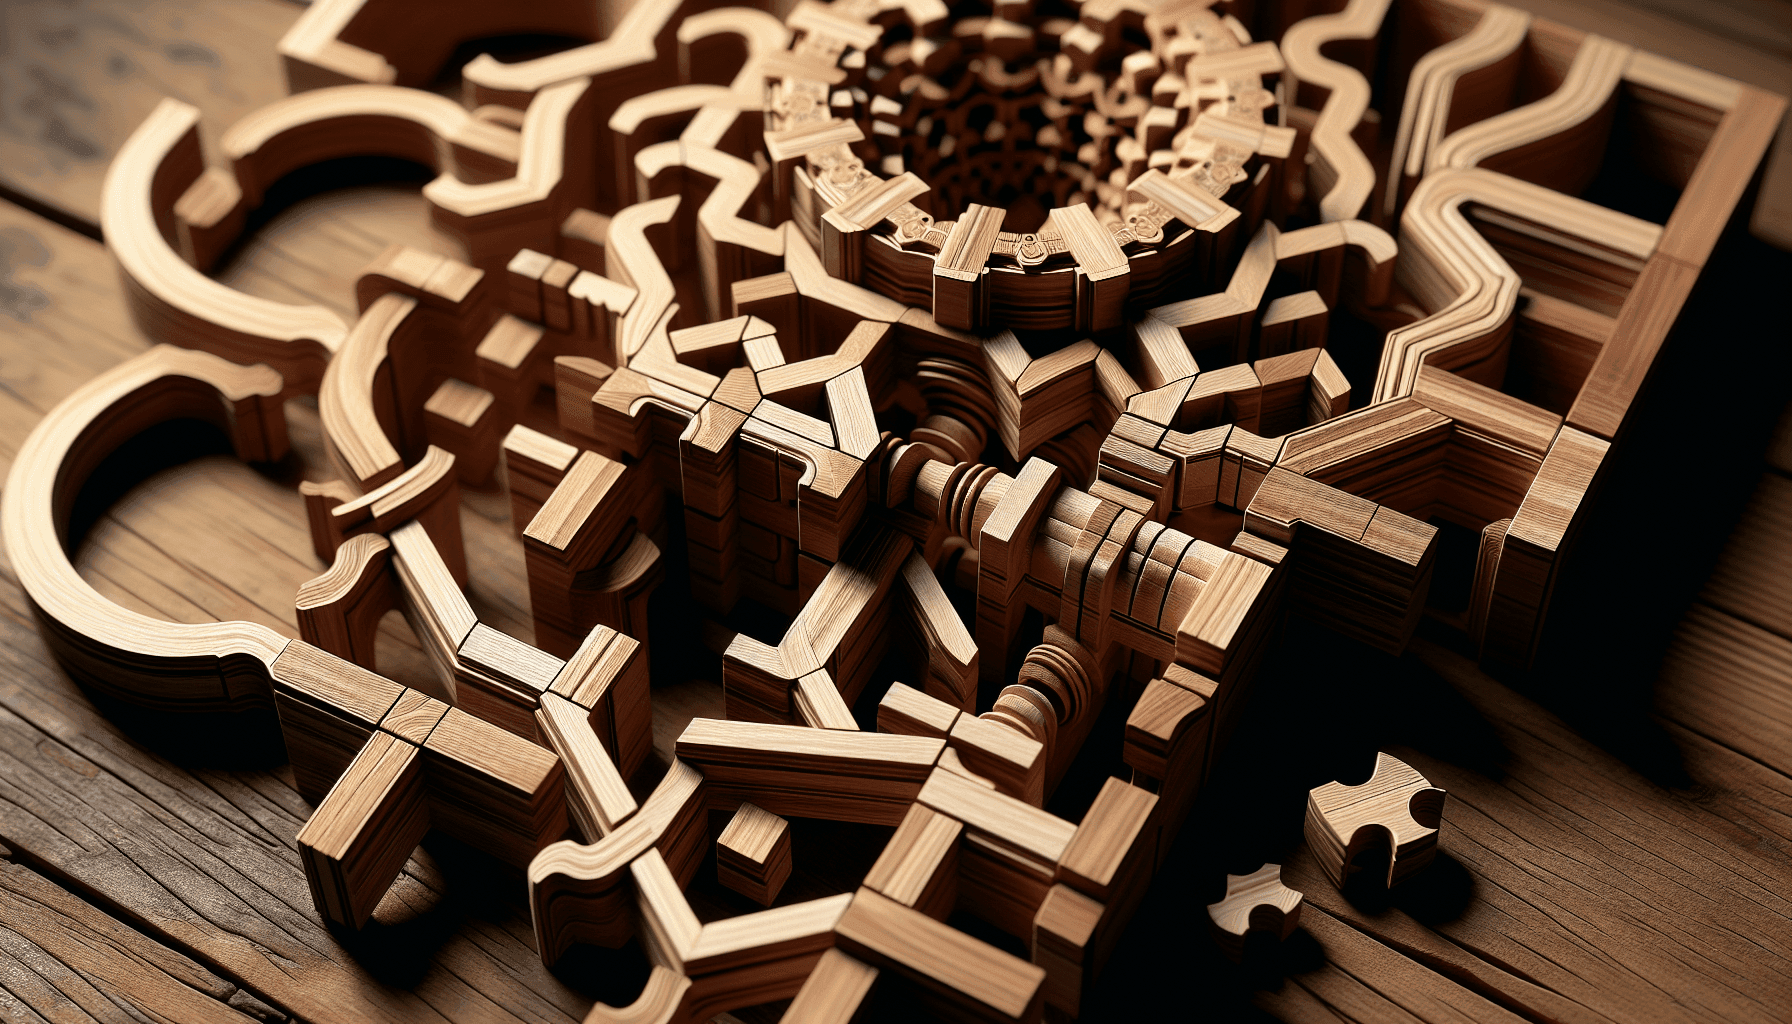
Have you ever gazed upon your newly completed 3D wooden model and wondered, “Can I disassemble and reassemble it?” This is a common curiosity for many enthusiasts who delight in the intricate art of wooden puzzles. Maybe you’ve perfected your model’s current form, or perhaps there’s a challenge in experiencing the build process all over again. Either way, understanding the intricacies of these fascinating models can justify your urge to disassemble, reassemble, or even delve deeper into the mechanical elements behind it. This guide will walk you through the nuances, considerations, and potential enjoyment of tackling a 3D wooden model from a different perspective.

Understanding 3D Wooden Models
Before you take apart your model, it’s essential to understand what you’re working with. These models aren’t just simple toys; they’re feats of engineering crafted from layers of precisely cut wood, offering hours of engagement and a beautiful result to display. Brands such as Robotime, Rokr, Ugears, and others have designed their models with interlocking pieces that create complex, functioning, and often mesmerizing constructions.
The Anatomy of a 3D Wooden Model
Typically, a 3D wooden model consists of several sheets of pre-cut wooden pieces. These pieces are crafted using a laser-cut process, ensuring tight fits and a high level of precision necessary for the model to function as intended. Each model typically includes several types of parts: structural components, moving parts for mechanical function, and decorative elements to enhance visual appeal.
Why Consider Disassembly?
You might want to disassemble your model for several reasons. Curiosity may drive you to investigate how the inner gears work or perhaps you wish to enjoy the assembly process again. Disassembly can also present a learning opportunity—one that might allow you to understand the engineering and craftsmanship that each model encapsulates. Another practical consideration could be the desire to undertake repairs or replace damaged components.
Factors to Consider Before Disassembly
While the idea of taking apart your model can be enticing, several factors should be weighed to ensure you don’t inadvertently damage it or lose parts.
Check the Model’s Instructions
Before you start, revisit the model’s instructions. These guidelines provide vital help in understanding the assembly process, which inversely sheds light on disassembly. Knowing the sequence of how parts were initially connected will aid significantly when you decide to reverse engineer the process.
Assess the Adhesive Use
Some models, depending on their design and intended durability, might have required glue during the assembly process. Models not meant to be disassembled might suffer damage if pulled apart forcefully. If glue was used, evaluate how heavily it was applied and whether dismantling is realistic without breaking parts.
Availability of Replacement Parts
Verify if replacement parts are available in case something breaks during disassembly. This availability varies by manufacturer and specific model, so check online or directly with the brand’s customer support.
Detailed Steps to Disassemble Your Model
Should you decide that the disassembly aligns with your intentions and the model’s design, proceed carefully and methodically.
Tools You Might Need
To disassemble your model without causing damage, gather some essential tools:
| Tool | Purpose |
|---|---|
| Small Screwdriver | For gently prying apart pieces |
| Tweezers | To handle small parts carefully |
| Craft Knife | Helpful for precision disassembly |
| Spare Container | To hold and organize small pieces |
| Soft Cloth | To provide a cushioned work surface |
Step-by-Step Process
- Prepare Your Work Area: Ensure you have a clean, well-lit space with sufficient room to lay out disassembled parts. A soft cloth can prevent scratches.
- Review the Instructions: Cross-reference the assembly instructions to plan your disassembly wisely.
- Work Backwards: Start from the last assembled section, and move toward the beginning. This usually means removing decorative elements before structural ones.
- Use Your Tools Carefully: Employ your tools to ease apart pieces. If resistance is met, it indicates potential glued areas or tightly fitted pieces requiring more careful handling.
- Keep Track of Parts: As parts come apart, place them into a container to avoid losses. Group similar parts together for organizational efficiency.
- Be Patient: Taking apart a model takes time and patience. Rushing could lead to breakage or misplacing pieces.
Reassembling Your Model
Just as careful as the disassembly was, reconstructing your model requires equal attention to detail.
Benefits of Reassembly
Rebuilding your model allows for a renewed appreciation of its design. This exercise can sharpen your skills for newer models or provide an opportunity for creative changes if you’re inclined to modify its appearance or function.
Step-by-Step Guide for Reassembly
- Organize Components: Lay out your model parts following the order outlined in the instruction manual. Group them as needed for easy access.
- Begin from Ground Up: Start with the foundational elements, ensuring everything is aligned as per the original design.
- Use Glue Sparingly: Should some pieces require gluing, apply sparingly, focusing on stability and ease of future disassembly if needed.
- Test Moving Parts Incrementally: As you rebuild sections containing moving parts, test them for functionality before proceeding too far. Adjust and correct any misalignments immediately.
- Complete in Segments: Reassemble the model in segments as described in your manual, ensuring each section is sturdy before moving on.

Troubleshooting Common Issues
Even with preparation, challenges can arise during the disassembly and reassembly stages.
Handling Stubborn Parts
If pieces are stubborn, it might help to apply gentle heat with a hairdryer, softening glue bonds and easing separation. Always use caution if attempting this method to avoid warping or excessive heat exposure.
Fixing Damaged Elements
Should a piece snap or warp, assess whether the damage impacts overall functionality or is merely cosmetic. Wooden glue can often mend breaks, though intricate or load-bearing parts may need replacements.
Smoothing Structural Errors
After reassembly, your model might exhibit minor structural misalignments. Check all joints and moving components to see where adjustments can be made. Applying slight pressure can reset pieces into proper place without the need for major reconstruction.
Enjoying Multiple Assemblies
Through thoughtful disassembly and reassembly, these 3D puzzles provide hours of additional engagement and satisfaction. They offer not just a joyful challenge but also enable a deeper grasp of mechanical principles and artistic craft. Indeed, mastering disassembly and reassembly transforms your experience from being a model owner to a model connoisseur, where you continuously learn and iterate on past builds.
Embracing the Follow-up Builds
Allow yourself to innovate and enjoy the process repeatedly. With each take-apart and build, skills improve, making complex models more manageable and less intimidating. This avocation not only stirs creativity but also builds patience, perseverance, and problem-solving skills.
So, when that next inquisitive thought tugs at you, urging you to take apart your beautifully intricate 3D wooden marvel, remember this guide as your companion in the journey. Revisit old puzzles, challenge yourself with modifications, and most importantly, savor the entire experience.
Ready to start your 3D wooden puzzle journey? Click on any of the following links for our reviews:
All Categories | Boats | Clocks | Marble Runs | Musical Boxes | Musical Instruments | Puzzle Boxes | Trains | Trams | Trucks